Stay Connected and Secure: Why a Static IP Address is Key for Your Windows Server Network
- Sourav Roy

- Apr 23, 2023
- 2 min read
If you're managing a Windows Server network, you may be wondering whether to use a static or dynamic IP address for your server. While dynamic IP addresses can be convenient, there are several advantages to using a static IP address that make it a preferred option for many organizations.
One major advantage of a static IP address is stability and reliability. By giving your server a consistent and unchanging address on the network, you can help to prevent network disruptions and reduce the risk of configuration errors.
Another benefit is network management. With a static IP address, you have greater control over network traffic and resources. You can assign specific IP addresses to specific devices or services on the network, which can help with troubleshooting network issues and ensure that the network is running efficiently.
In terms of security, a static IP address provides an extra layer of protection for your server. Dynamic IP addresses change regularly, which makes them more susceptible to malicious attacks or hacking attempts. A static IP address is less likely to be targeted by these types of attacks.
Finally, a static IP address makes it easier to remotely access your server from outside the network. By setting up port forwarding rules and other networking configurations that rely on a fixed IP address, you can simplify the process of remote access.
Overall, the advantages of using a static IP address for a Windows Server network are clear. It can provide greater stability, security, and flexibility, making it a preferred option for many organizations.
Here are the steps to add a static IP address to your server network using Server Manager:
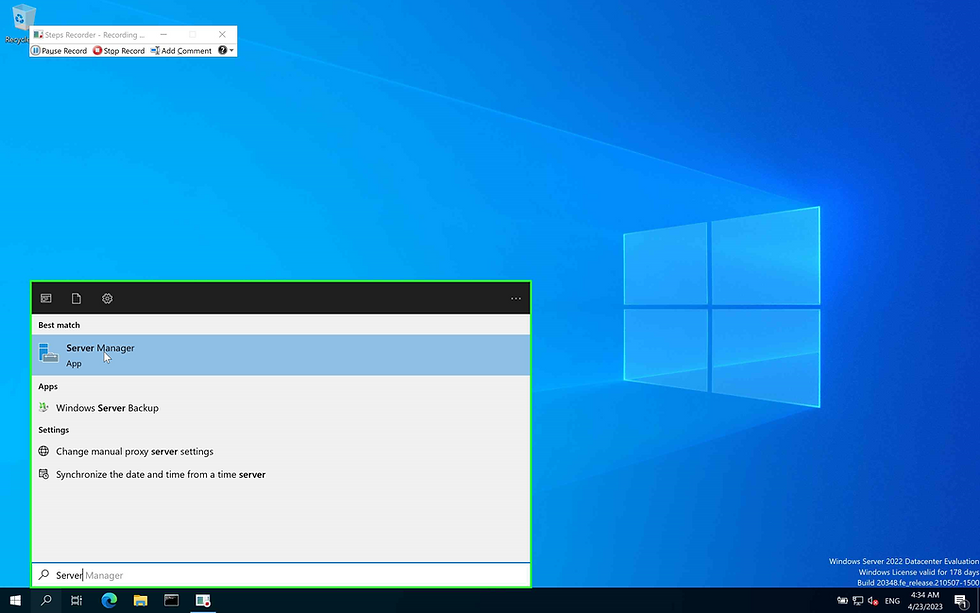
Open Server Manager by clicking on the Start menu and selecting "Server Manager."

In the Server Manager window, select the "Local Server" option on the left-hand side of the screen.

In the Local Server section, click on the "Ethernet" link.

This will open the Ethernet Status window. Click on the "Properties" button.

In the Ethernet Properties window, scroll down and select "Internet Protocol Version 4 (TCP/IPv4)."

Click on the "Properties" button to open the Internet Protocol Version 4 (TCP/IPv4) Properties window.

Select the "Use the following IP address" option and enter the IP address you want to assign to the server.

Enter the subnet mask and the default gateway, as well as any preferred and alternate DNS server addresses.
Click on the "OK" button to save your changes.
Verify that your static IP address has been successfully added by running the "ipconfig" command in the Command Prompt. The output should show your new static IP address, subnet mask, and default gateway.
By following these steps, you can easily add a static IP address to your server network and enjoy greater stability, security, and network management.
In my next blog, I will write in detail about determining the network address range, IPv4, subnet mask, performing a bitwise AND operation, converting an IP address and subnet mask to binary format, and finally determining the network address and host address from an IP address according to the subnet mask.


Comments